
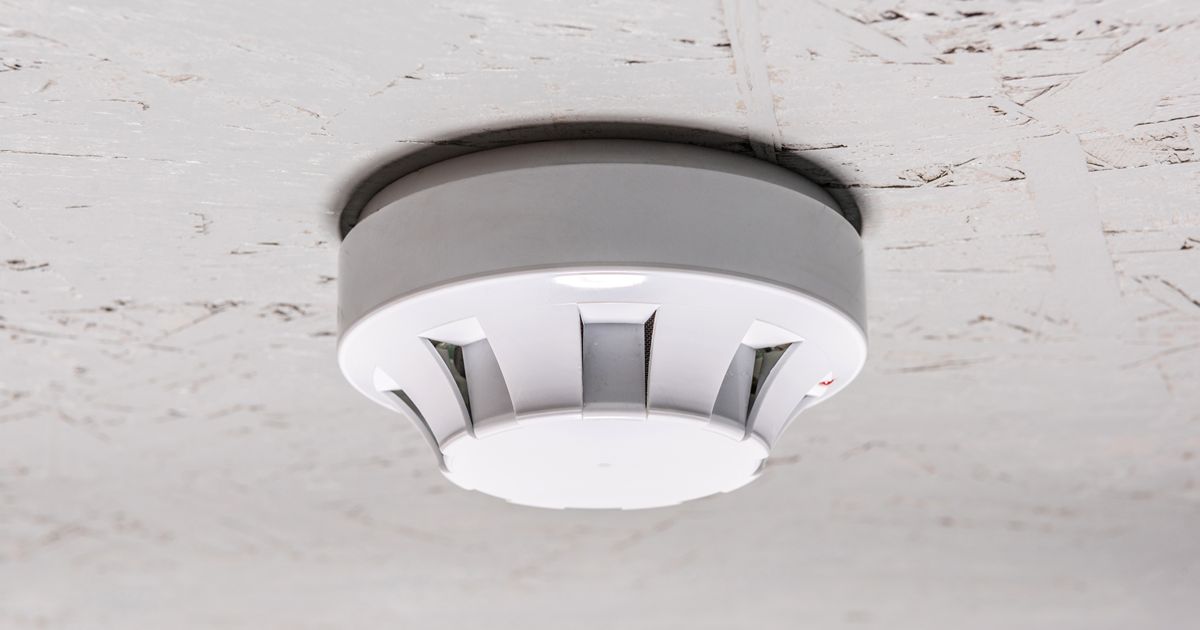
Addressable smoke detectors detect smoke and report the exact location of the device to a compatible fire alarm panel.
Each unit has a unique address, which helps staff find the source of an alarm or trouble signal.
The Gamewell FCI ASD-PL3-IV uses a photoelectric chamber and analog communication to track smoke levels.
This guide explains its operation, features, compatibility, and care needs.
Addressable smoke detectors are fire alarm devices with unique digital addresses. The control panel can identify each unit by its assigned number instead of showing only a broad zone.
A conventional system may report smoke on the second floor. An addressable system can report the detector associated with a specific room, hall, or office. That added detail can help technicians locate the device faster.
These detectors belong to a larger group of fire alarm components that work together. The control panel polls each connected device over the signaling line circuit. A working detector replies with data about its condition.
The panel may receive several types of information:
Exact functions depend on the panel model and its programming. Addressable smoke detectors must use a communication method listed by the panel.
Addressable smoke detectors sense smoke, send data to the panel, and identify themselves through a set address. The panel reviews the data and triggers the programmed response when readings reach the alarm level.
The ASD-PL3-IV combines a photoelectric sensing chamber with addressable analog communication. It sends an analog representation of smoke density through the communication line. Two rotary switches set its device address.
Air enters through openings around the detector. Smoke particles move into the photoelectric chamber.
Inside the chamber, a light source and sensor sit at set angles. Clean air causes little light to reach the sensor. Smoke particles scatter the light, which raises the detector’s reading.
Photoelectric detection works well with many slow, smoky fire conditions. The ASD-PL3 sensing chamber was built to detect smoke from a broad range of burning materials.
The detector changes the chamber reading into an electrical value. It then sends that value to the fire alarm control panel.
The panel compares the reading with its programmed alarm level. Some supported panels can also track sensitivity or report when dust affects the chamber. Available features can vary by panel, so we always check the approved system documents before selecting a replacement.
Each detector needs its own point address. The ASD-PL3-IV uses two visible rotary switches for this task.
One switch controls the tens value. Another sets the ones digit. Together, they support point addresses up to 159 when the connected panel allows that range.
For example, a detector marked as address 42 may appear at the panel as “Smoke Detector 42, East Hall.” Clear panel labels make alarm response and service work much easier.
The control panel decides what happens after it receives an alarm reading. It may turn on the horns and strobes, release the doors, shut down the air systems, or send a signal to a monitoring service.
Detection devices do not serve the same role as control modules. Monitoring and relay modules explain how these components supervise circuits or control other equipment.
The ASD-PL3-IV provides point identification, smoke level communication, and support for two Gamewell FCI protocols. A basic residential alarm usually works as a stand-alone unit and does not report an individual address to a commercial panel.
Gamewell FCI lists the ASD-PL3-IV as an intelligent photoelectric smoke detector in an ivory housing. Official data lists support for both Velociti and CLIP communication, which provides the service model with additional support for some older installations.
The model includes several useful service features:
The two LEDs can show red, green, or amber based on panel commands. Their exact blink or steady light pattern depends on system programming. Honeywell also lists a low standby current and an operating range of 15-32 VDC.
The IV suffix identifies the ivory service version. Honeywell’s product sheet also lists this model for Velociti and CLIP operation.
That detail matters during replacement work. The white ASD-PL3 supports Velociti mode, while the ASD-PL3-IV supports Velociti or CLIP mode. Similar names do not make the devices equal.
Addressable smoke detectors report an individual identity and device data. Conventional units usually report an alarm through a shared zone circuit.
Wiring style also needs attention. The number of conductors alone does not prove compatibility.
Our overview of two-wire and four-wire devices explains why circuit type, reset method, and power source matter.
Learn more about the difference here: “Addressable vs. Conventional Fire Alarm Systems.”
The ASD-PL3-IV must connect to a listed, compatible Gamewell FCI addressable panel and an approved base. Matching the shape or brand name alone does not prove that a device will work.
Check these items before ordering:
The official instructions state that these sensors need compatible addressable communication. They also direct users to connect them only to listed compatible control panels.
Buying based on appearance is a common and costly mistake. Our guide to avoiding the wrong device covers the model, voltage, protocol, and listing checks buyers should make.
Honeywell currently marks the ASD-PL3 product family as discontinued. Existing stock may still appear through parts sellers, but buyers should confirm condition, source, and system approval before purchase.
Older stock also creates a higher risk of altered labels or questionable parts. These steps for spotting fake parts can help buyers review packaging, markings, seller history, and return terms.
A trained fire alarm professional should install and test the ASD-PL3-IV in accordance with the panel manual, local rules, and site procedures. Fire alarm work can affect building protection, alarm reporting, and emergency response.
The manufacturer gives this general order:
The shipping dust cover must come off before operation. Honeywell also advises removing detectors before heavy construction because building dust can enter the chamber.
Before hiring a vendor, these supplier questions can help confirm the product’s history, warranty terms, testing, and return policies.
The ASD-PL3-IV has a magnet test point. A proper test magnet simulates smoke electronically and checks the detector’s electronics and panel connection.
A magnet test does not confirm that smoke can enter the chamber. Smoke entry testing uses an approved aerosol product and follows the maker’s directions. The panel should receive the alarm during either of the approved tests.
Staff must place the system on test before service. They should also tell the proper monitoring party that work has started. Once testing ends, the system must return to normal service.
Dust can change how a photoelectric chamber reads the air. A dirty unit may cause service warnings, unwanted alarms, or poor performance.
The official cleaning process includes removing the detector, taking off the cover, and carefully vacuuming the screen. Further cleaning may require removing the chamber cover and clearing dust with a vacuum or compressed air. The detector must be reassembled, reinstalled, and tested after cleaning.
Never paint the housing or block its openings. Replace damaged parts rather than trying to repair cracked plastic, burned contacts, or missing chamber pieces.
Most ASD-PL3-IV purchase errors come from incomplete model checks. A small suffix, base difference, or protocol mismatch can leave the new detector unable to communicate.
Avoid these common mistakes:
I recommend taking clear photos of the existing detector label, base, panel nameplate, and display message. Those records give a supplier or technician more accurate information to review.
Addressable smoke detectors provide exact point identification and useful sensor data, but only when every part matches the approved system.
The ASD-PL3-IV adds photoelectric sensing, rotary addressing, and support for communication with Velociti or CLIP.
Before buying one, confirm the full part number, panel protocol, base model, and listing documents.
A licensed fire alarm professional should complete the installation, programming, and final test so the building receives the protection the system was built to provide.